Showing posts with label cooking. Show all posts

Monday, November 12, 2012

Soft Oatmeal Raisin Cookie Recipe

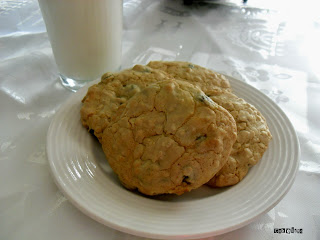
This is a very simple Oatmeal Raisin Cookies Recipe. Every time I make them they disappear super fast.
I really like this Recipe cause I find with other Oatmeal Cookie Recipe that it calls for a little to much Oatmeal. I also like to add a little Coffee Creamer to the milk it adds a nice flavor and softness to the cookies. Use your favorite coffee creamer.

Ingredients:
2 Cups All purpose Flour
1/2 Teaspoons of Salt
1/2 Teaspoons of Cinnamon
2 Teaspoons or Baking Soda
1 Cup Firmly packed Light Brown Sugar
1/2 Cup White Sugar
1/2cup (1 stick) Butter or Margarine Softened
1 egg
1/2 Teaspoon of Vanilla
1/4 cup of Milk
1 cup Rolled Oats
3/4 Cups Raisin
1/2 cup Pecans or Walnuts chopped (optional)

Preheat oven to 375*f. 
Step 1: In small bowl combine flour,salt,cinnamon and baking soda and set aside.

Step 2: In large bowl combine brown sugar and butter and beat until creamy.


Step 3: Beat in egg and vanilla until light and fluffy


Step 4: Stir in Milk than add flour mixture and rolled oats separately to cream mixture, blending while until after each addition.


Step 4: Stir in Raisin and nuts.
*Note: I didn't add nuts to my cookies*


Step 5: Drop by teaspoonfuls onto un-greased cookie sheet. Bake for 8-10mins or until lightly browned.

Serve with a tall cold glass of milk and enjoy.


Saturday, November 10, 2012

Spongebob Squarepants Frozen Butter Cream Transfer

 Making a frozen butter cream transfer is simple to do.
This was our second time attempting to do a frozen buttercream transfer.
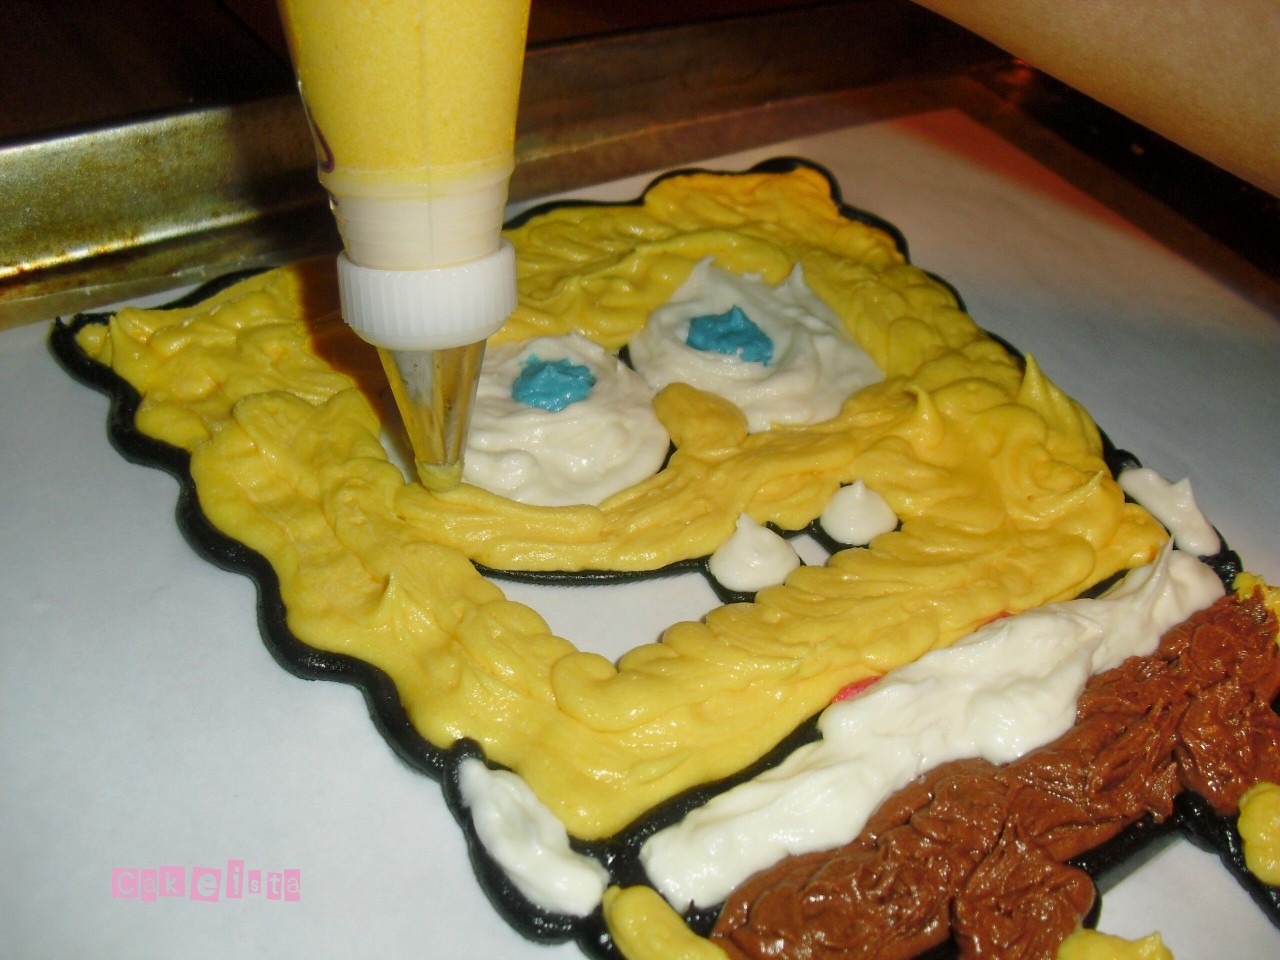
We chose to do a Spongebob Squarepants Frozen Butter Cream Transfer
For this transfer you'll need a picture of Spongebob (or whatever character you want to do) recipe for crusting butter cream icing, piping bags, and piping tips #7, #3 and #2(next time we'll probably use bigger tips for certain areas to avoid lines but you learn as you go :).


 Step 1: First we started out with a tip #7 and black icing to outline his body. For his smaller features we used a #3 and #2.


Step 2: After outlining the whole picture, put him in the freezer for about 15 mins. After that, color him in, starting with his smaller features such as his sponge holes, tie, eyes and teeth. For his pants we just added cocoa powered to the icing and plain icing for his shirt.


Note: For the features  that only needed a little icing(like his red tie, sponge holes, etc) we used piping bags made out of wax paper.
Step 3: After finishing the features and clothes, begin on coloring in his body with yellow icing and tip #7. If you like, you can use a bigger tip.


Step 4: Once he's all colored in, take some more yellow icing and cover his entire body. Smooth it out gently until it's all even. This provides a sturdy base for the transfer. Put the transfer in the freezer for a least an hour or overnight.


Step 5: After the transfer has in been in the freezer for a least an hour, take a plain icing cake of your choice and carefully flip the transfer icing side down onto the cake, remove wax paper. Be sure to work kind of fast on this step so that it doesn't thaw out before it's flipped onto the cake.
We decorated our cake with a blue and white border using a star tip. Then we made sky flower butter cream transfers but you can decorate your cake any way you want.


And there's your Spongebob Frozen ButterCream Transfer.